LED Badges — First PCB
2018-06-12 · 2 mins
I finished creating the first PCB for the prototypes and it seems to mostly work.
As of right now I’m still having issues with charging through the Micro USB port, I believe something is wired incorrectly. Additionally it seems to discharge the battery overnight, suggesting current is still running somewhere it shouldn’t be while powered off.
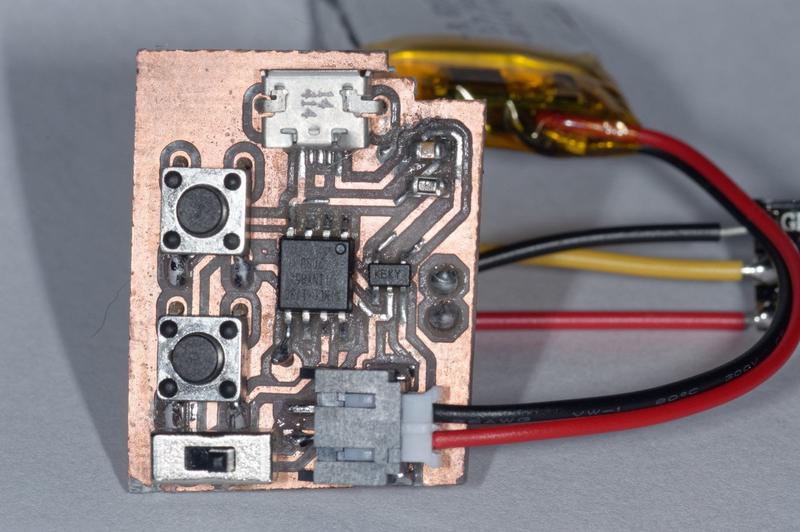
While the soldering job isn’t very pretty, it does seem to do the job. You can also see the holes in the board are shifted slightly. That was due to me not properly aligning the board when engraving it.
When evaluating the batteries I got previously, it seems like they only store around 250mAh instead of the advertised 350mAh. While this isn’t great, it’s not a downgrade from the 240mAh batteries I was using before. I’m going to continue evaluating and see if the one I tested was defective, if my battery charger just isn’t that accurate, or if the batteries really are that much lower capacity than advertised.
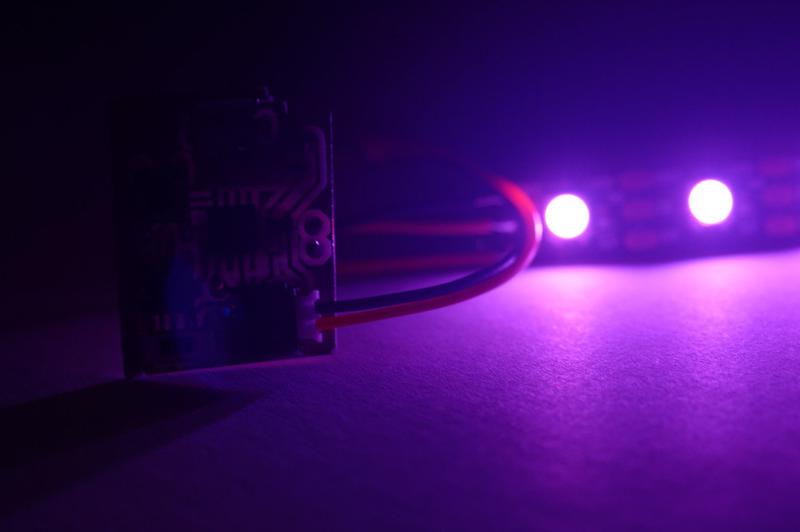
In order to properly test it, I need to 3D print the case for them. While the board was designed to make it easy, it will still take some work to find the smallest possible design that still can easily hold everything. It is designed so that the switch will be directly exposed, but the buttons will have a printed part covering them.
I also need to figure out how to design the case to most securely hold the acrylic. Hot glue was good for a prototype, but after sitting in my backpack on the flight home, it detached itself.
Next up: resolving circuit issues and designing a 3D printable case.